Home Screen or Landing Page
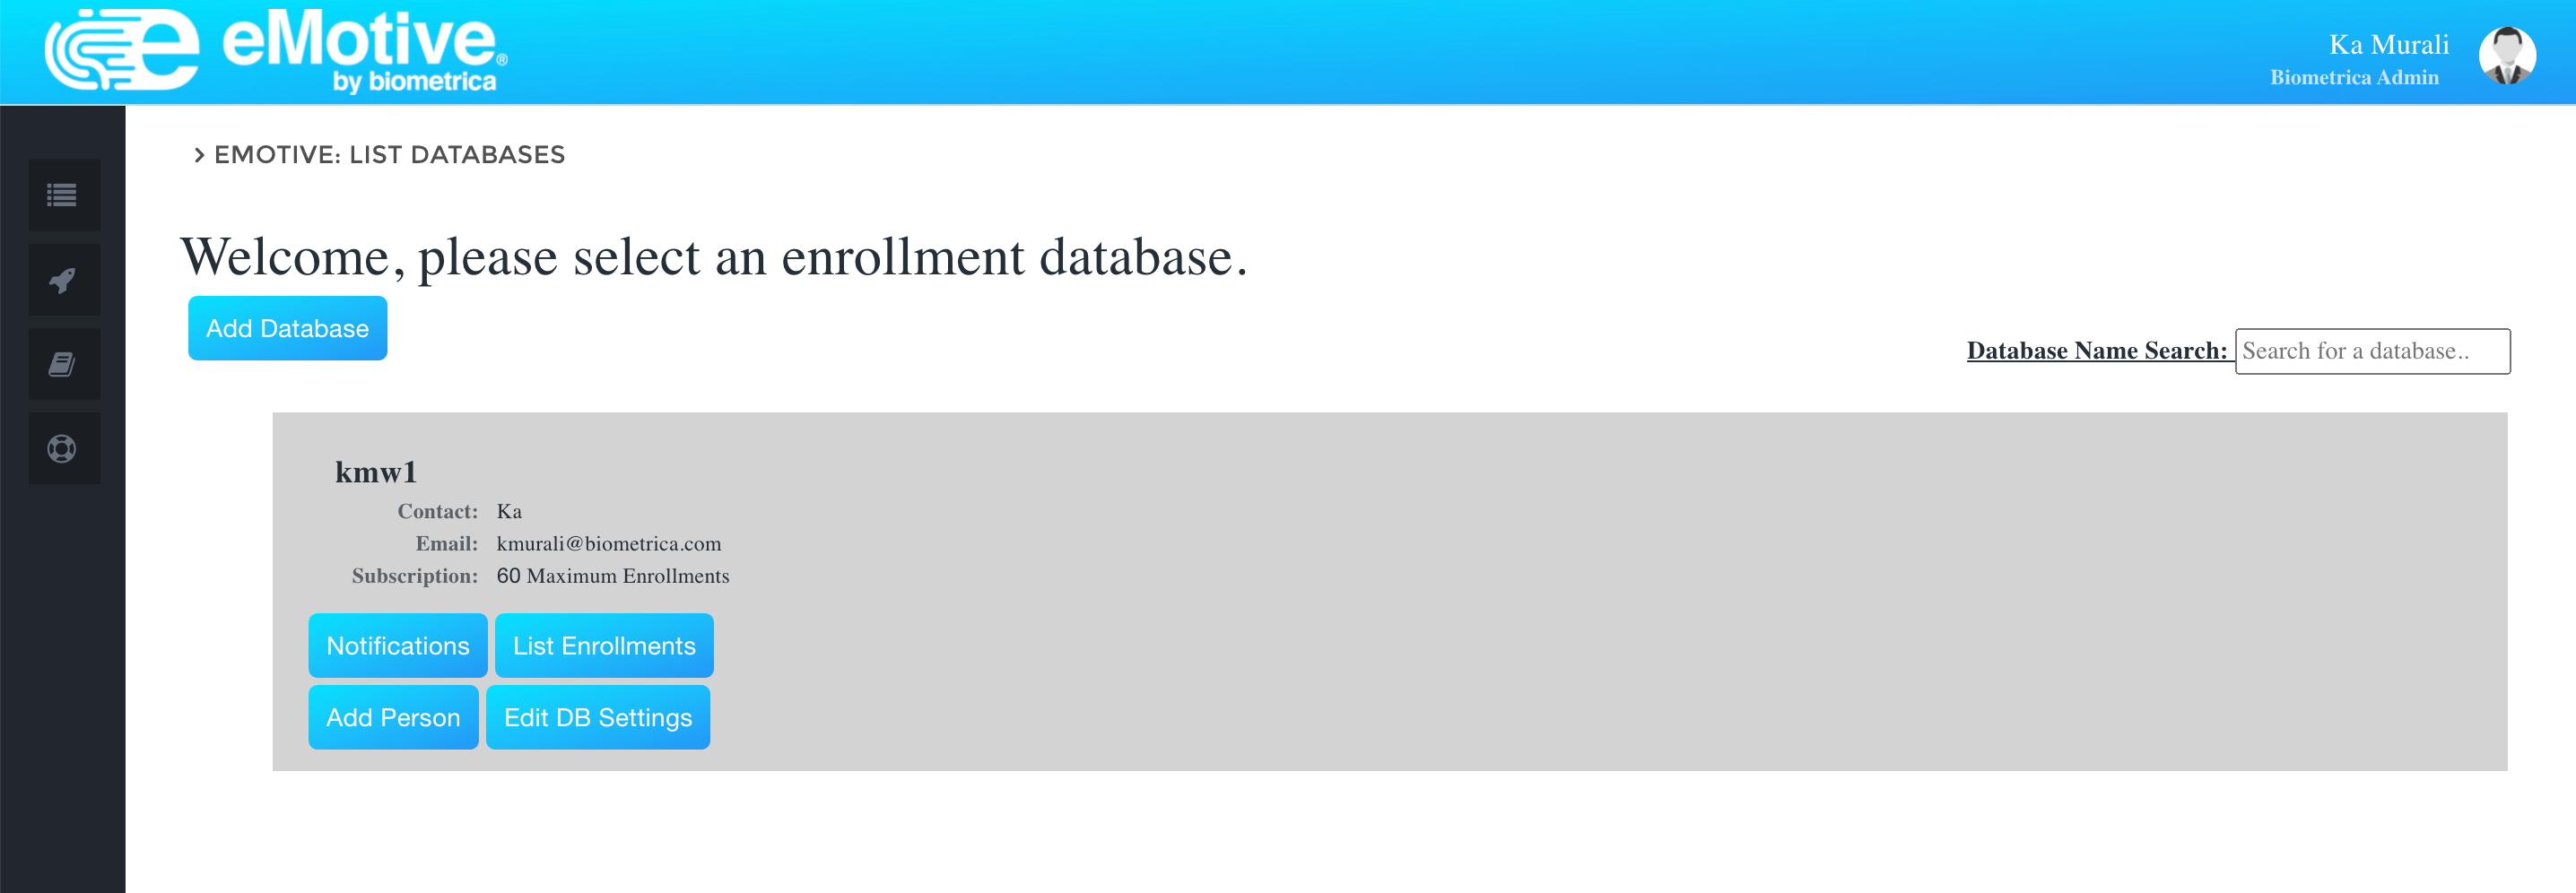
When you log into eMotive, the first thing you'll see is a screen that looks like this (image below), with whatever databases you've created immediately visible, if you have created a database. If you haven't created one yet, you'll just see a line saying "Welcome, please select an enrollment database" and you can click the "Add Database" button below. Click that button whenever you want to add a new database.
This is your home screen (image below). If you have multiple enrollment databases created, each database will be below the next.
Set Up: Click Add Database
If you're an Authorized User or an Administrator, you have the ability to create and/or edit a database. How many databases you can view or edit depends on your organization's permissions settings, which only an organizational admin can change.
Creating or adding a database is much like creating a file or folder. You, as the organizational authority, can choose to create only one for all your employees, contractors, vendors, volunteers, or other individuals you are monitoring with their permission to run background checks on, or separate them by region, office location, department or function into different databases (silos or buckets), giving different levels of permissions for each to a different individual. Here is what your Add Database screen should look like (see next 3 images and notes below each).
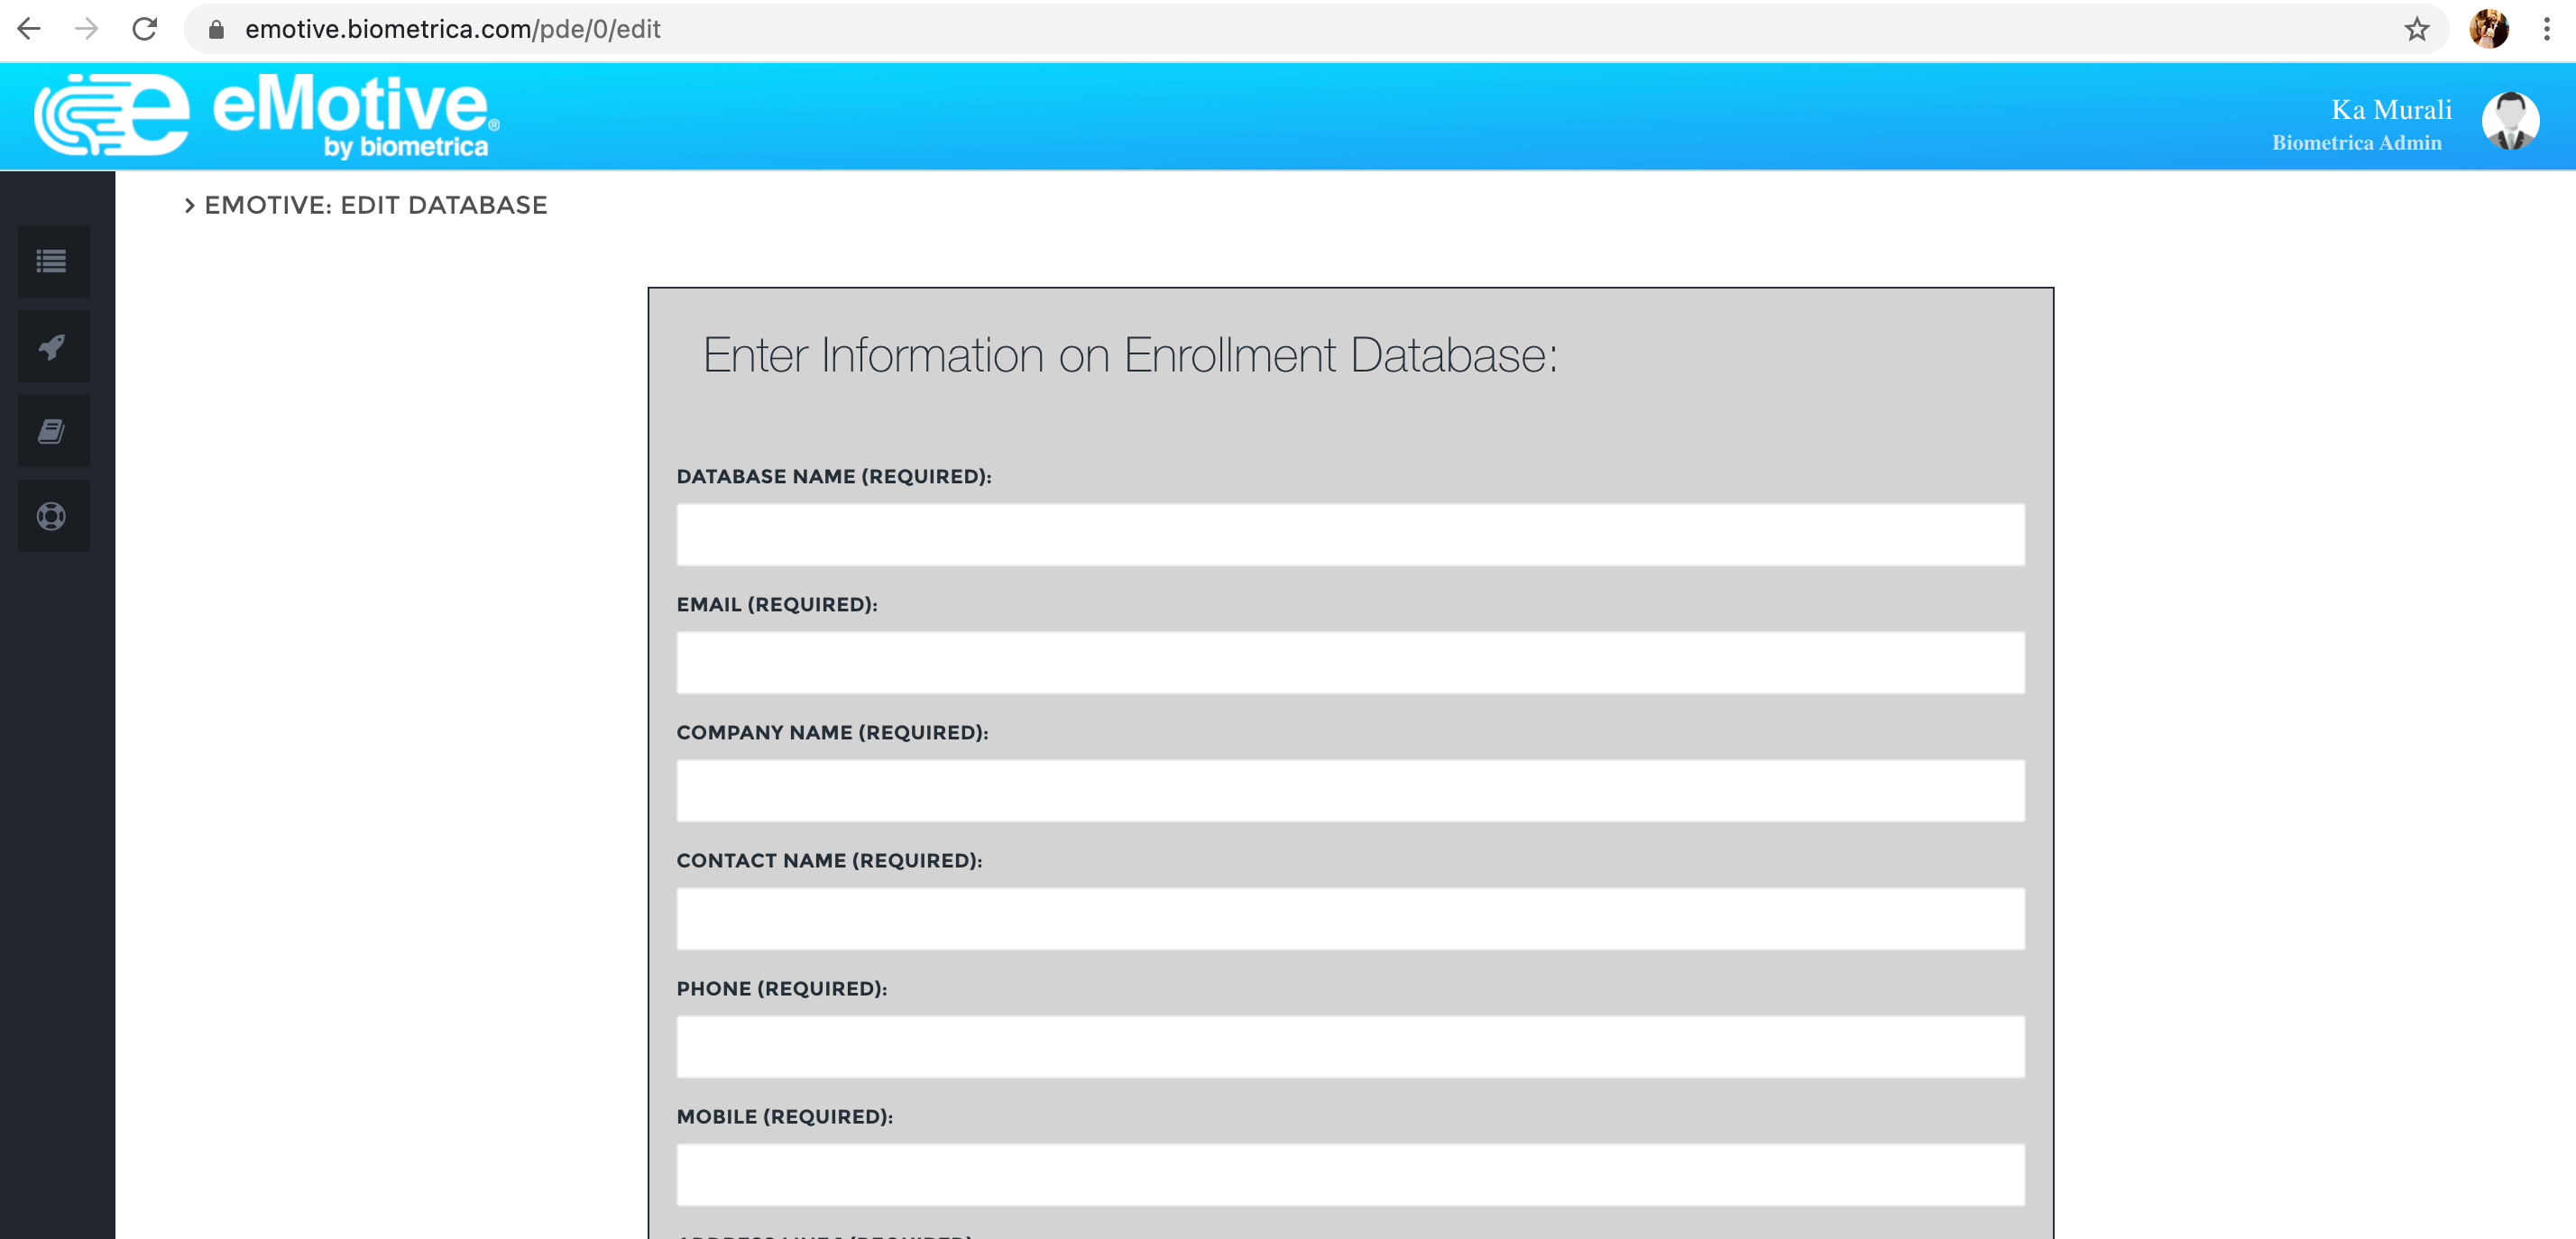
1. Pick a Database name: It could "Organization ABC - Employees" or "Organization ABC - Volunteers" or "Organization ABC - Accountants" or "Organization ABC - IT Staff" -- whatever defines the group.
2. Email: This is the email address of the person that will receive email notifications when the algorithms find a potential match between an individual enrolled in your database and an arrested individual. The email you receive will NOT have any names. However, it would be what's called a uniquely target identifier, which would create a digital audit trail, telling anyone looking at the information later, who received the email, when they received it, if it was opened, when it was opened, and did anyone click on the link and log into eMotive. If they did log in, other actions would be able to tell an investigator what actions they took with respect to that information. All actions are logged.
NOTE: One database can only be attached to one email address. So, if you'd like more than one person to receive a notification, you need to set up a distribution list.
(A distribution list is a group of mail recipients that is addressed as a single recipient. Distribution lists are used to send email to groups of people without having to enter each recipient's individual address. For instance, when someone emails marketing@biometrica.com, that email is automatically further sent to several people.)
3. Company Name = Organization Name
4. Contact Name, Phone Number, Mobile Number: This is all information required under the Fair Credit Reporting Act (FCRA). If the email attached is a distribution list, name one person as the lead point of contact for that list and provide contact details for that person.
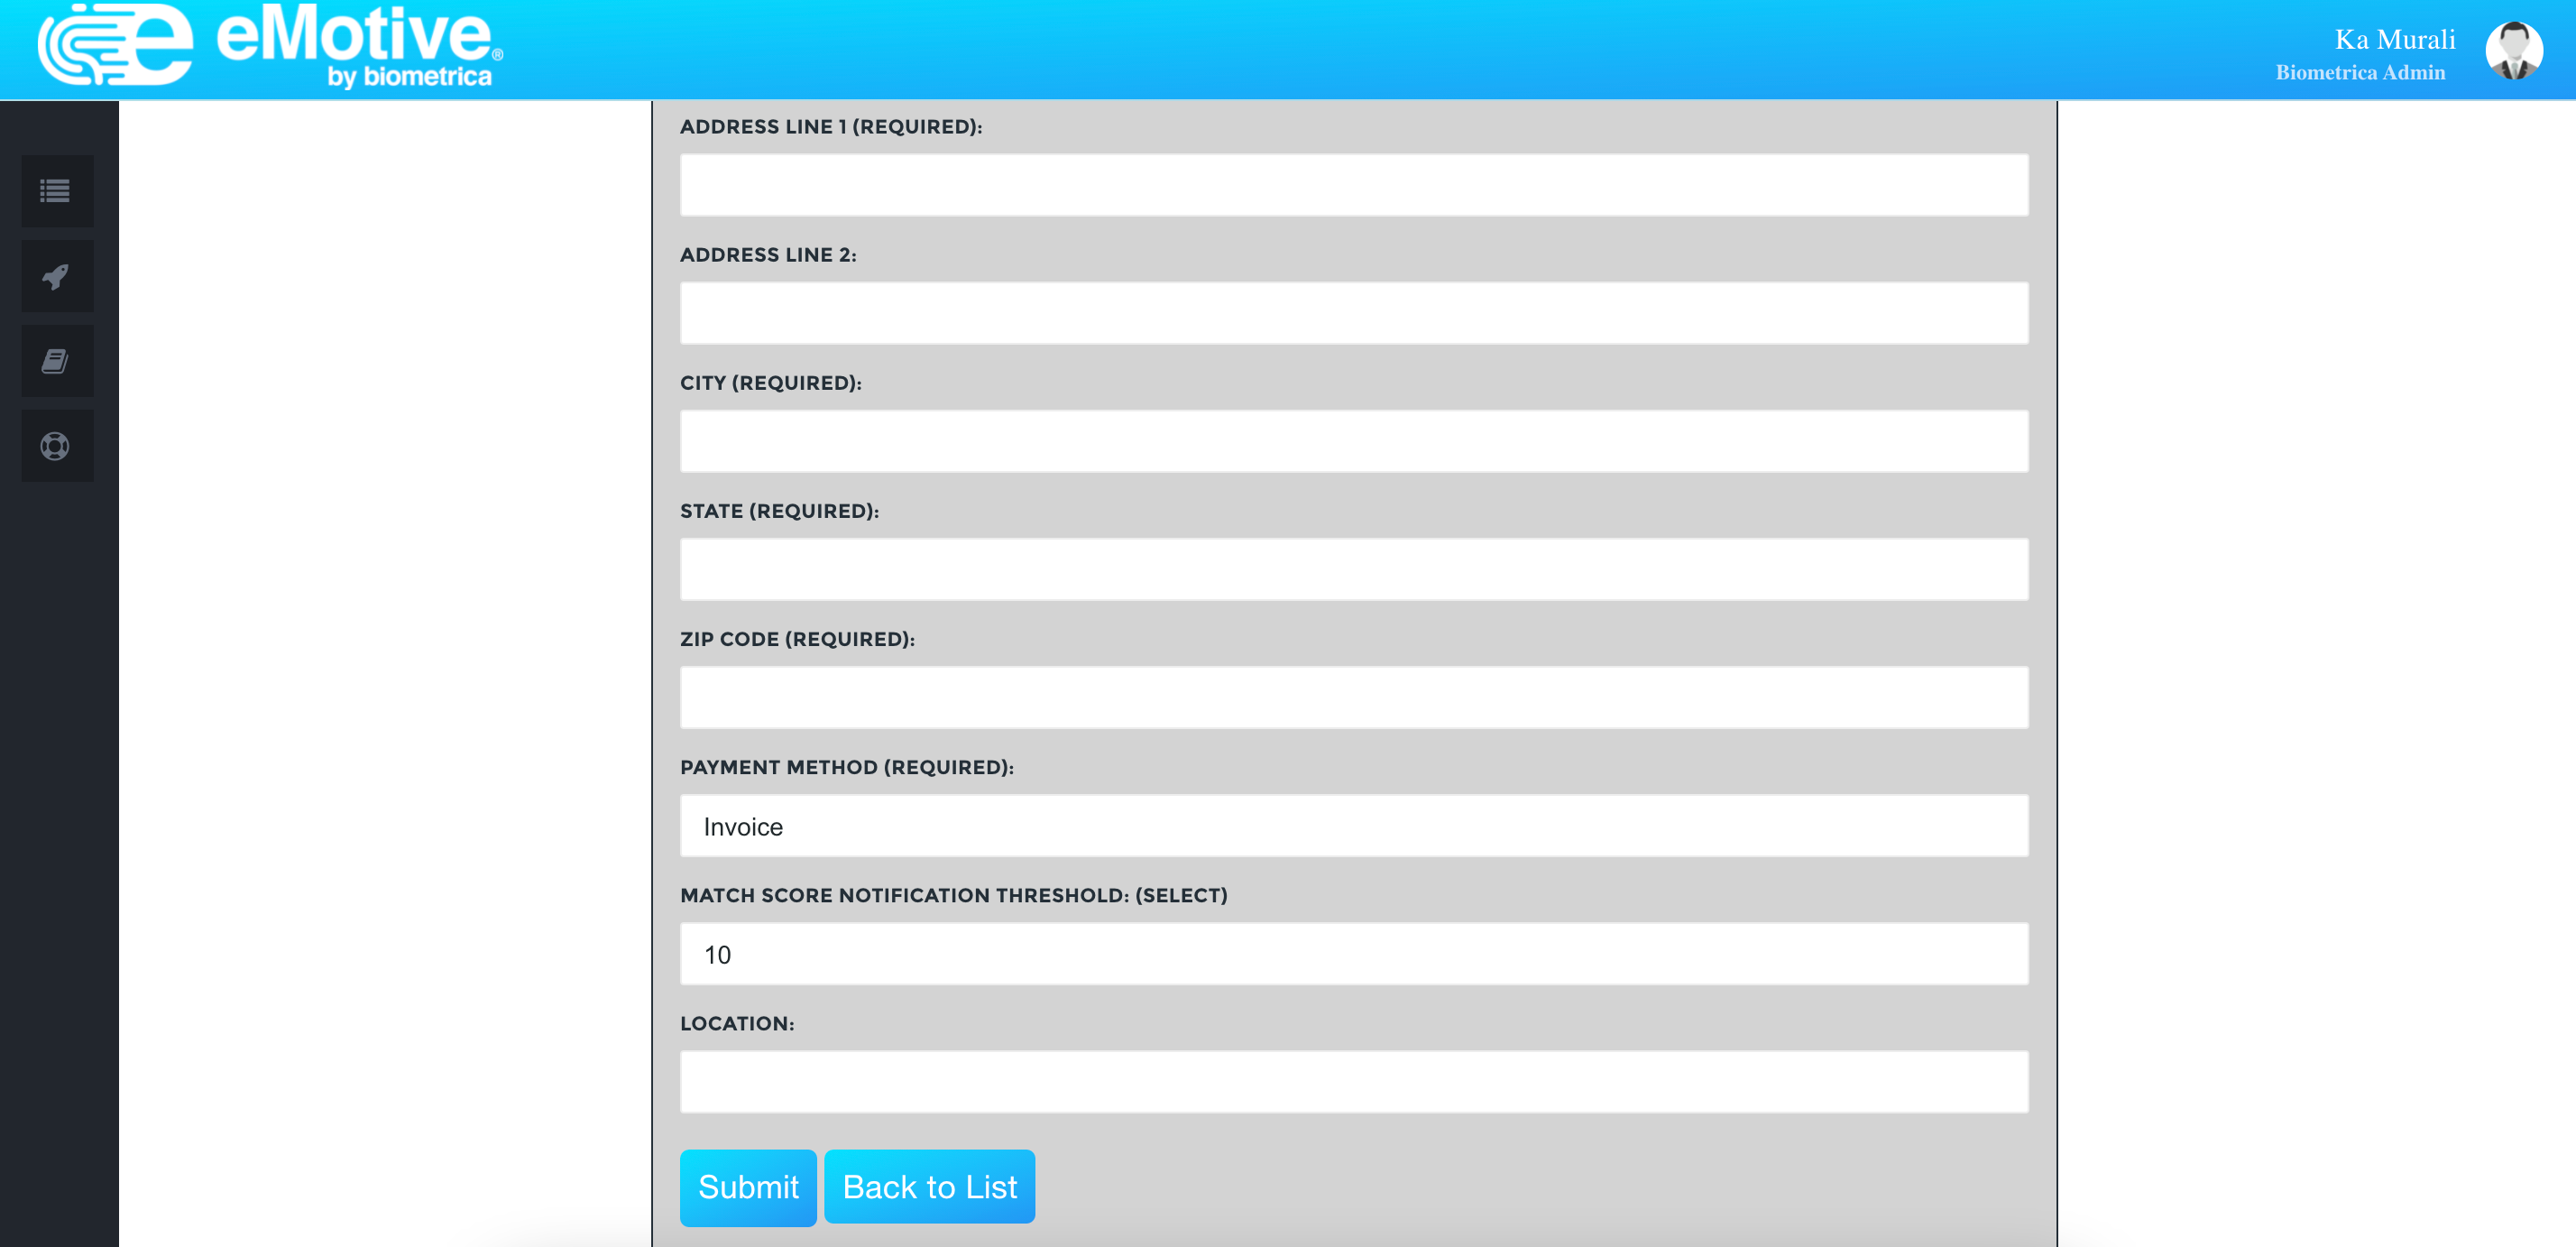
5. Address line 1 & 2, City, State, Zip: Please put in the organizational address here. If you're working from home and would prefer that to a registered address, put that here. Again, this is required.
6. This is pre-populated for you, as Invoice.
7. Match Score Notification Threshold: See the article on this here in the Help Center.
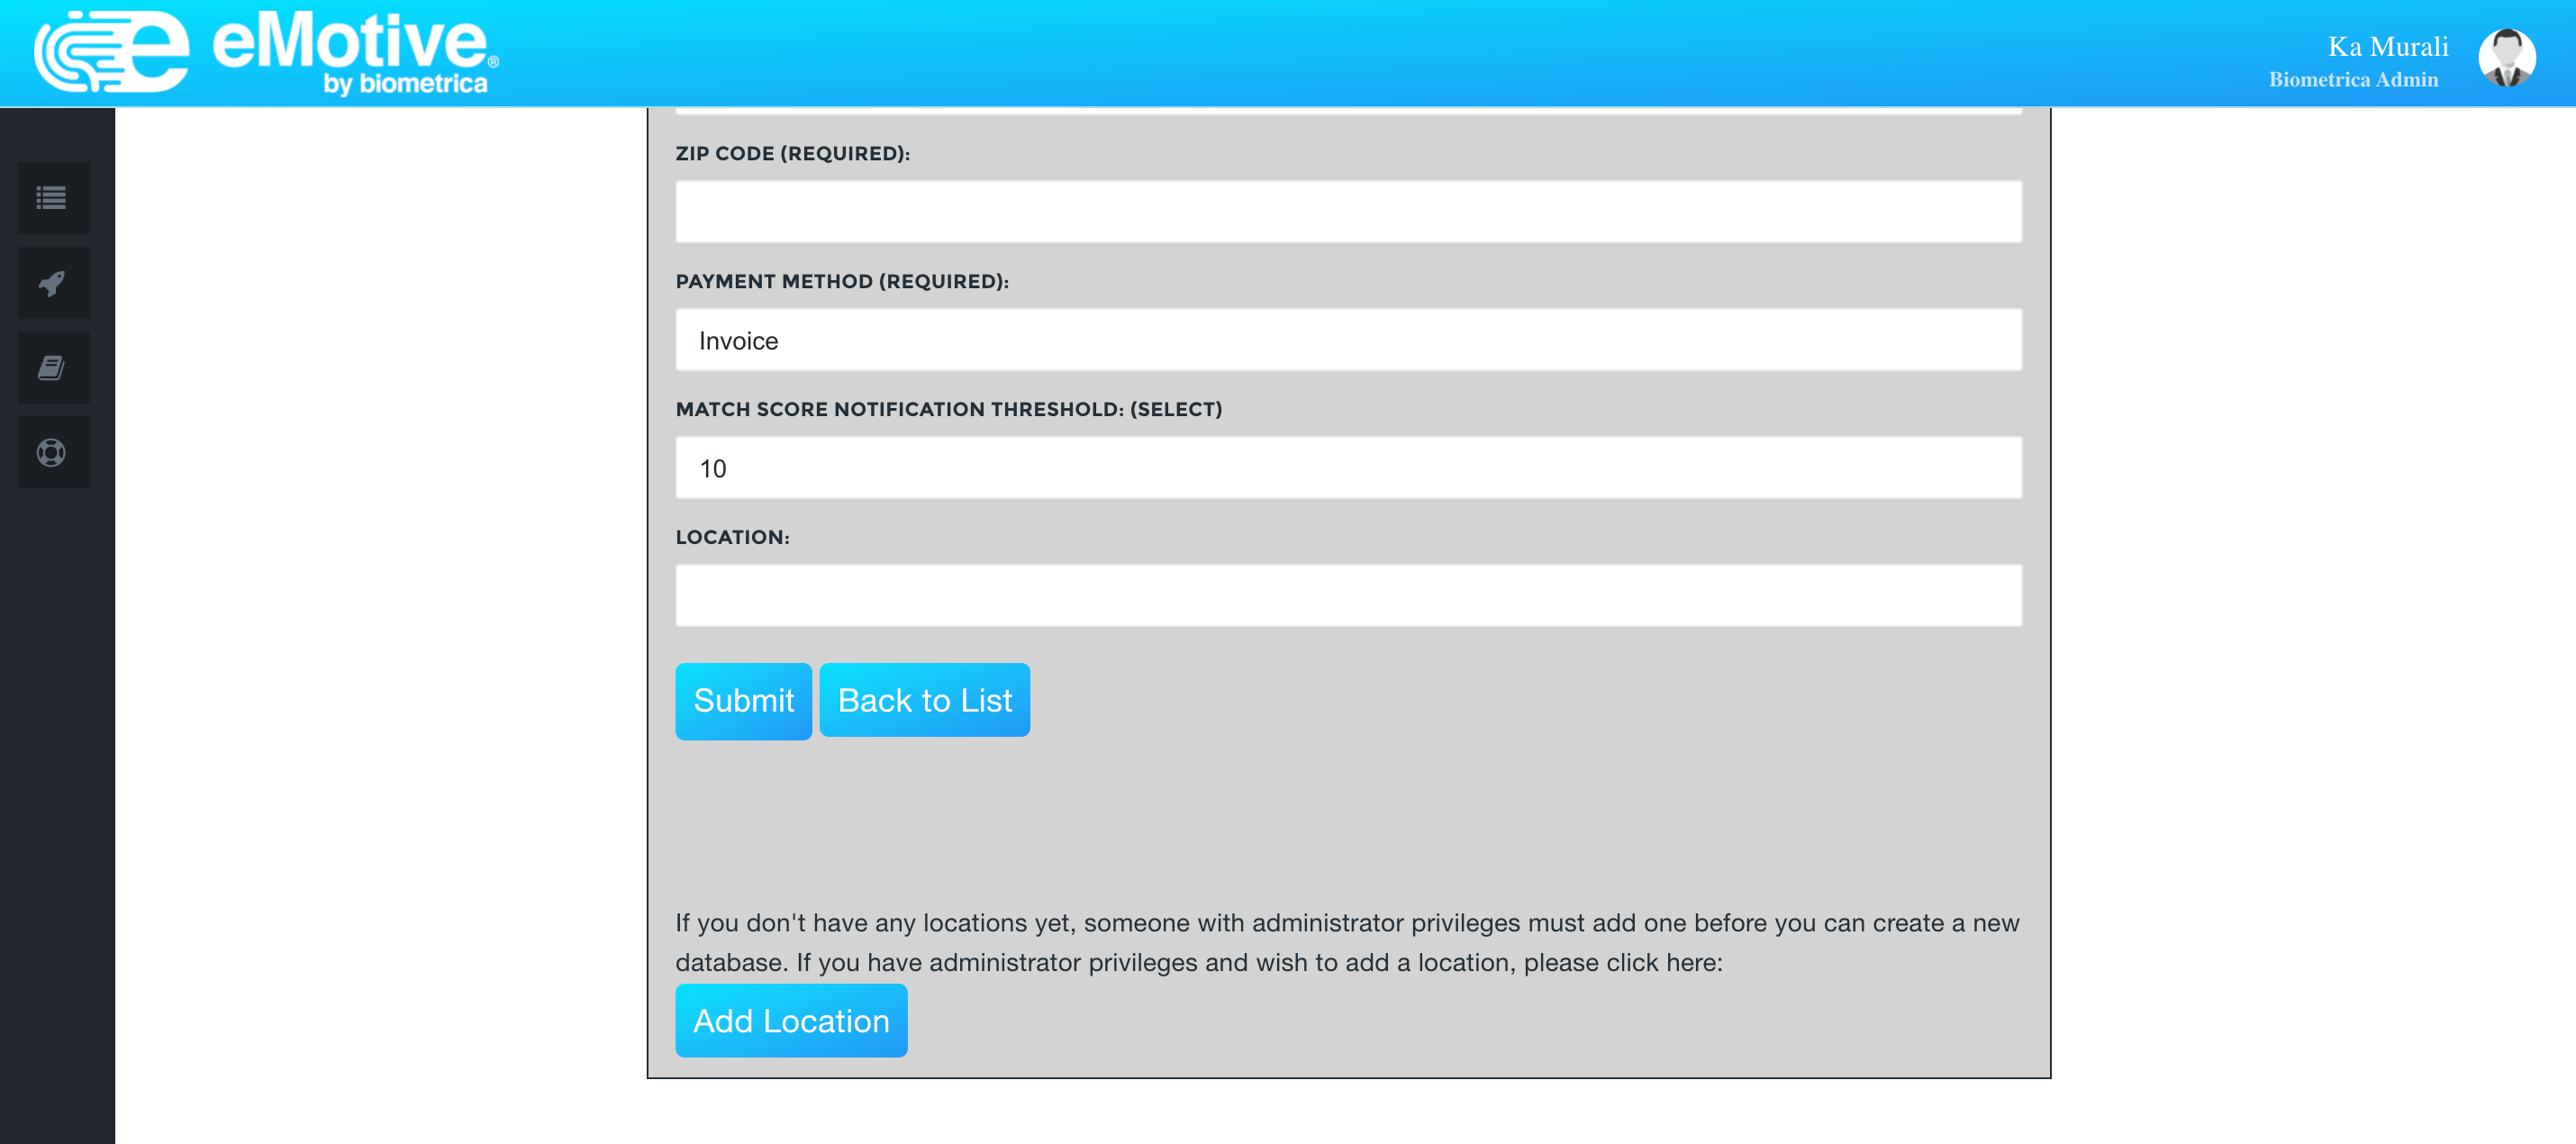
This last bit on locations is self-explanatory.
If you have any questions, please contact your administrator first. If your admin cannot create a separate database for you, please hit your "Contact Support" button on the left.